 EN
EN AR
AR HR
HR CS
CS DA
DA NL
NL FI
FI FR
FR DE
DE EL
EL IT
IT JA
JA KO
KO NO
NO PL
PL PT
PT RU
RU ES
ES SV
SV IW
IW VI
VI TH
TH TR
TR FA
FA MS
MS
Introduction
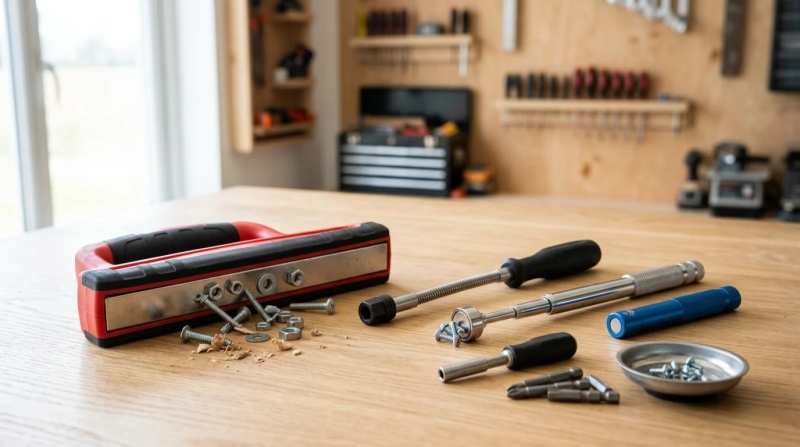
A well-chosen set of magnetic tools can make welding work faster, cleaner, and more consistent by holding parts securely during fit-up and tack stages. Instead of relying on extra hands or constant clamp adjustments, welders can use magnetic aids to maintain angles, improve alignment, and reduce setup time on everything from simple brackets to larger fabricated assemblies. This article highlights five essential magnetic tools that deserve space in a welding kit, with a focus on what each one does best, where it adds the most value, and how it helps improve accuracy, efficiency, and repeatable results in daily shop work.
Why Magnetic Tools Matter in a Welder’s Kit
Magnetic tools have fundamentally transformed modern welding and metal fabrication by functioning as an indispensable extra set of hands. In environments where precision and efficiency dictate profitability, the reliance on magnetic workholding solutions reduces the need for manual tacking jigs and secondary personnel.
By integrating magnetic fixtures, fabricators can achieve tighter tolerances and streamline their assembly processes. Understanding the operational impact of these tools is the first step toward optimizing any professional welding kit.
How magnetic tools improve fit-up speed and repeatability
The primary advantage of magnetic tools lies in their ability to drastically accelerate fit-up speed. Traditional clamping requires manual adjustment, physical space for C-clamps, and often a second worker to hold pieces plumb. Magnetic squares and fixtures can reduce setup time by up to 40%, allowing a single operator to lock materials into exact 45-degree, 90-degree, or 135-degree orientations instantly.
Repeatability is equally critical in production runs. When fabricating multiple identical frames or brackets, fixed-angle magnets ensure that the geometry remains consistent across every unit. This consistency minimizes the dimensional drift that often plagues manual alignments, ensuring that batch production meets strict engineering specifications.
Where magnetic welding tools add value in fabrication
Magnetic tools add exceptional value in structural fabrication and heavy equipment repair, where managing large, cumbersome steel plates is routine. In these environments, switchable magnetic blocks can hold components weighing in excess of 50 pounds securely in place before the initial tack welds are applied.
Furthermore, precise fit-up directly impacts the final weld quality. By maintaining consistent joint gaps—often holding tolerances within 1 to 2 millimeters—fabricators reduce the risk of distortion and burn-through. Adhering to international quality frameworks, such as those outlined by the International Organization for Standardization for fusion welding, requires this level of geometric control to prevent structural defects.
5 Essential Magnetic Tools Every Welder Should Carry
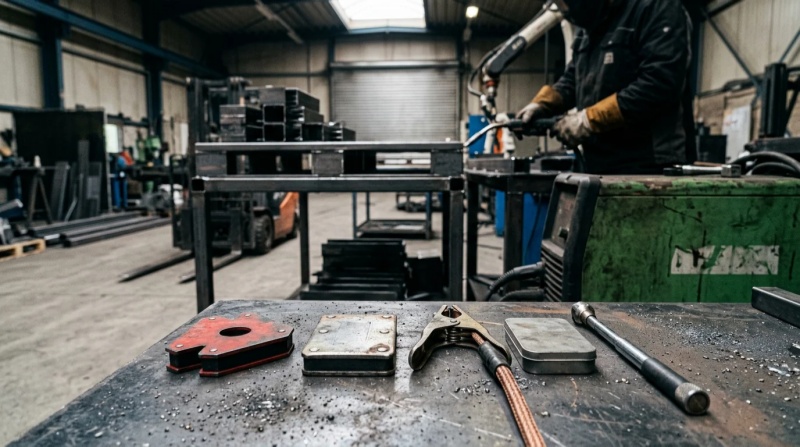
A comprehensive welding kit requires a strategic selection of magnetic tools designed for specific holding, grounding, and organizational tasks. While specialty fixtures exist for niche applications, a core set of five magnetic tools forms the foundation of daily fabrication work.
Magnetic welding squares, angle magnets, and magnetic clamps
Magnetic welding squares are the most ubiquitous tools in any shop, offering preset angles (typically 45°, 90°, and 135°) to hold sheet metal and tubing. Standard constant magnets are affordable and reliable, but they constantly attract ferrous debris. Switchable angle magnets, which utilize an internal mechanism to turn the magnetic field on and off, represent a significant upgrade by allowing easy positioning and effortless cleanup.
Adjustable angle magnets and magnetic clamps provide flexibility for non-standard joints. Unlike fixed squares, these tools feature pivot points that can be locked at any angle from 20° to 200°. Magnetic clamps, which combine traditional sliding clamp arms with magnetic V-pads, are particularly useful for securing round tubing and pipe sections where flat squares would slip.
Magnetic ground clamps and magnetic parts trays
A magnetic ground clamp is a critical efficiency tool for welders who frequently work on large or awkwardly shaped structures. Traditional spring-loaded ground clamps require a clean, flat edge, which is not always accessible. A magnetic ground clamp can adhere to any flat ferrous surface, providing a secure electrical connection with capacities ranging from 300A to 800A, thereby preventing arc stutter and localized heat damage caused by poor grounding.
Magnetic parts trays, while not directly involved in the welding arc, are essential for shop organization. A 6-inch or 8-inch stainless steel tray with a rubber-coated magnetic base secures small consumables like TIG cups, collets, tungsten electrodes, and plasma cutter tips. This prevents the loss of expensive hardware in a chaotic shop environment and keeps critical components within arm's reach of the operator.
What performance specs define the best magnetic tools
The effectiveness of a magnetic tool is defined by its pull force, thermal resistance, and footprint. Pull force dictates holding capacity; a standard medium-duty welding square typically offers 40 to 80 pounds of pull force, while heavy-duty switchable blocks can exceed 150 pounds.
Thermal resistance is another crucial specification. Standard neodymium magnets begin to lose their magnetic properties permanently if exposed to temperatures exceeding 80°C (176°F). High-temperature variants or samarium-cobalt (SmCo) magnets are engineered to withstand up to 300°C (572°F), making them suitable for close-proximity workholding.
| Tool Type | Primary Function | Typical Capacity/Force | Estimated Cost Band (USD) |
|---|---|---|---|
| Fixed Magnetic Square | 45°/90° joint alignment | 25 - 75 lbs | $10 - $25 |
| Switchable Angle Magnet | Easy-clean joint alignment | 60 - 150 lbs | $40 - $120 |
| Magnetic Ground Clamp | Electrical grounding | 300A - 800A | $30 - $90 |
| Adjustable Angle Magnet | Custom angle fit-up | 40 - 90 lbs | $50 - $100 |
| Magnetic Parts Tray | Consumable organization | 2 - 5 lbs | $10 - $20 |
How to Compare Magnetic Tools Before Buying
Selecting the right magnetic tools requires looking past simple aesthetic differences to understand the underlying engineering. The market is saturated with options ranging from budget hobbyist squares to industrial-grade fixtures. Comparing these tools effectively ensures a high return on investment and reliable performance on the shop floor.
Which factors separate professional magnetic tools from basic options
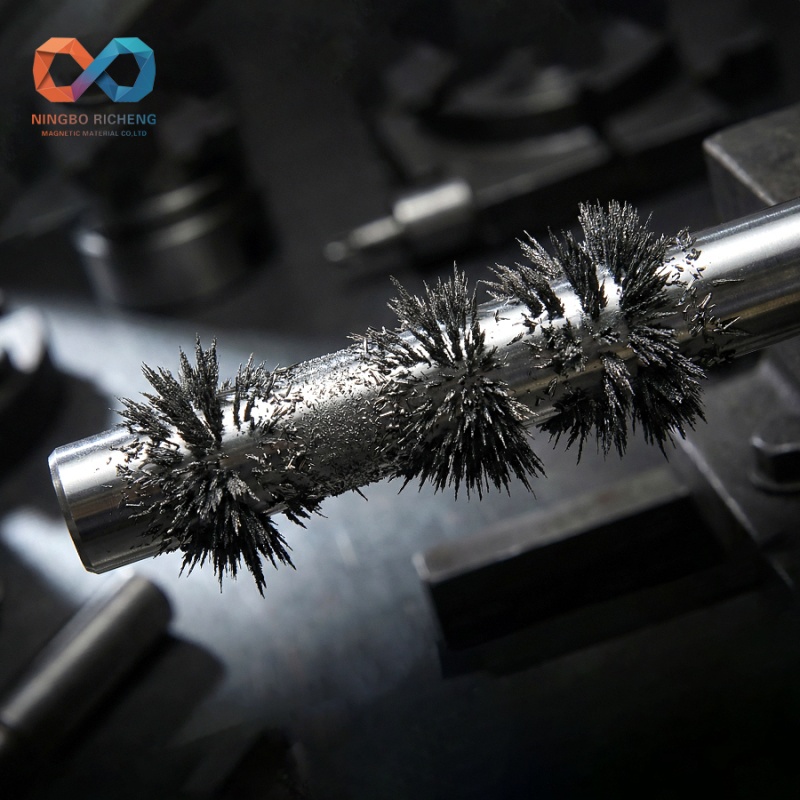
The primary division between professional and basic magnetic tools is the on/off capability. Basic tools use constant magnets encased in riveted steel plates. While inexpensive, they attract grinding dust and spatter incessantly, eventually forming a 'fur' of metal shavings that throws off the 90-degree accuracy by several degrees.
Professional tools utilize switchable magnetic technology. By turning a dial, the internal magnetic poles are misaligned, effectively turning the magnetic pull off. This allows the welder to place the magnet perfectly before engaging the holding force. Furthermore, professional tools often feature fully sealed enclosures that prevent fine metallic dust from penetrating and jamming the internal mechanisms, extending the tool's lifespan significantly.
What comparison criteria to use
When comparing magnetic tools, buyers should evaluate material thickness requirements, duty cycles, and the specific magnetic alloy used. A common misconception is that a magnet rated for 100 pounds of pull force will hold 100 pounds of any steel. In reality, pull force ratings are calculated using thick steel plates (often 3/8-inch or 1/2-inch thick). If the tool is used on 16-gauge sheet metal, the actual holding force may drop by 60% to 80% because the thin metal cannot absorb the full magnetic flux.
Buyers must also consider the geometry of the tool's contact faces. Tools with precision-machined V-grooves offer superior contact on cylindrical surfaces like pipes and tubes compared to flat-faced magnets.
| Magnet Material | Max Operating Temp (°C) | Relative Holding Strength | Susceptibility to Corrosion |
|---|---|---|---|
| Neodymium (Standard) | 80°C | Very High | High (requires plating) |
| Neodymium (High-Temp) | 150°C - 200°C | High | High (requires plating) |
| Samarium Cobalt (SmCo) | 300°C - 350°C | Medium-High | Low |
| Ceramic / Ferrite | 250°C | Low | Very Low |
How to Use Magnetic Tools Safely and Effectively
Despite their utility, magnetic tools introduce specific variables into the welding environment that must be managed. Improper use can lead to compromised weld integrity, damaged tools, and safety risks. Implementing best practices for positioning and maintenance is essential for professional fabrication.
How to position, clean, and maintain magnetic tools
Proper positioning is vital to protect the magnet from thermal damage. Magnets should be placed at least 2 to 3 inches away from the heat-affected zone (HAZ) whenever possible. If a weld must be placed close to the fixture, welders should use short tack welds and remove the magnet before running continuous, high-heat passes.
Maintenance revolves primarily around cleanliness and storage. Even switchable magnets require periodic wiping to remove stubborn spatter. Tools should be stored in a dedicated, dry drawer away from precision electronic measuring equipment. Applying a light coat of anti-spatter spray to the exterior casing of the magnet can also prevent hot slag from adhering to the tool's surface.
When to avoid or limit magnetic tools
Magnetic tools must be avoided or strictly limited in specific welding scenarios. The most prominent issue is 'arc blow' (or magnetic wander), which occurs during direct current (DC) welding. A strong magnetic field near the weld joint can deflect the welding arc, causing erratic spatter, poor penetration, and porosity. If arc blow occurs, the welder must remove the magnet, reposition the ground clamp, or switch to alternating current (AC) if the process allows.
Furthermore, magnetic tools are entirely ineffective on non-ferrous materials. Welders specializing in aluminum, titanium, or austenitic stainless steels (such as the 300 series, which is largely non-magnetic) will find no use for magnetic fixtures. In these cases, traditional mechanical clamping or specialized vacuum jigs must be deployed.
How to Choose the Right Magnetic Tools for Your Work
Building an effective magnetic tool kit requires an assessment of your specific trade requirements. A pipeline welder, a structural steel fabricator, and an automotive restorer all interact with metal differently, meaning their ideal toolkits will vary in scale, strength, and investment.
How workflow, material type, and portability affect buying decisions
Workflow heavily dictates the type of magnets required. High-volume production shops benefit immensely from switchable magnets, as the time saved on cleaning and positioning justifies the higher initial cost. If a welder performs 50 fit-ups a day, saving just one minute per fit-up translates to nearly four hours of saved labor per week.
Material type and scale also drive purchasing decisions. Fabricators working with heavy structural I-beams require heavy-duty magnetic blocks with a pull force exceeding 150 pounds to safely secure flanges. Conversely, mobile contractors and pipe fitters prioritize portability. For these professionals, compact magnetic V-pads and mini-squares that fit easily into a tool bag are far more valuable than bulky, heavy-duty blocks.
How to build a balanced magnetic tool kit
To build a balanced, highly functional magnetic tool kit, professionals should start with a versatile baseline before investing in highly specialized fixtures. A recommended starter kit includes two medium-duty switchable 90-degree squares (approximately 60 to 90 pounds of pull force each), one 400A magnetic ground clamp, and a small magnetic parts tray.
This foundational setup typically requires an investment of $100 to $200 and covers over 80% of standard workholding tasks in a general fabrication environment. As the operator's scope of work expands into complex tubular structures or heavy plate assembly, the kit can be supplemented with adjustable angle magnets and high-temperature SmCo fixtures to ensure readiness for any fabrication challenge.
Key Takeaways
- The most important conclusions and rationale for Magnetic Tools
- Specs, compliance, and risk checks worth validating before you commit
- Practical next steps and caveats readers can apply immediately
Frequently Asked Questions
Which magnetic tool should a welder buy first?
Start with a magnetic welding square. It handles common 45°, 90°, and 135° fit-ups, speeds tack welding, and improves repeatability on frames, brackets, and tubing.
Are switchable welding magnets better than constant magnets?
Usually yes. Switchable magnets are easier to position, release, and clean, especially in shops with lots of steel dust and spatter. They also reduce frustrating debris buildup.
What pull force is suitable for everyday welding magnets?
For general fab work, 40–80 lb pull force fits most squares and angle magnets. For heavier plates or larger assemblies, choose switchable blocks rated above 150 lb.
When should I use a magnetic ground clamp?
Use one when a standard spring clamp cannot reach a clean edge on large or awkward steel parts. It gives a solid ground on flat ferrous surfaces and helps prevent unstable arc starts.
Where can I find industrial magnetic tools for welding projects?
RC Magnet offers magnetic solutions for metalworking and fabrication needs. When choosing tools, check pull force, heat resistance, angle range, and whether the magnet is switchable.