A Magnetic Tool Holder makes grabbing tools quick and easy. He can mount it at a spot where reaching feels natural. She often places a Magnetic Knife Holder in the kitchen or a Magnetic Hooks For Refrigerator in the garage for extra storage. They use a Magnetic Sweeper to clear metal bits from the floor. A Magnetic Pickup Tool helps them grab screws that drop. With a Magnetic Holder, every tool stays visible and within reach.
A tidy workspace leads to faster projects and less frustration.
Key Takeaways
- Choose a magnetic tool holder that fits your tools by size, weight, and type for strong and secure holding.
- Mount the holder on a solid, easy-to-reach spot using proper screws or anchors to keep tools safe and steady.
- Organize tools by grouping similar types and balancing heavy and light items to make grabbing tools quick and easy.
- Label each tool’s spot and keep the holder clean to maintain strong magnet grip and prevent lost tools.
- Always handle tools carefully around magnets to avoid accidents, and teach safe habits to everyone using the holder.
Choosing the Right Magnetic Tool Holder
Types of Magnetic Tool Holders
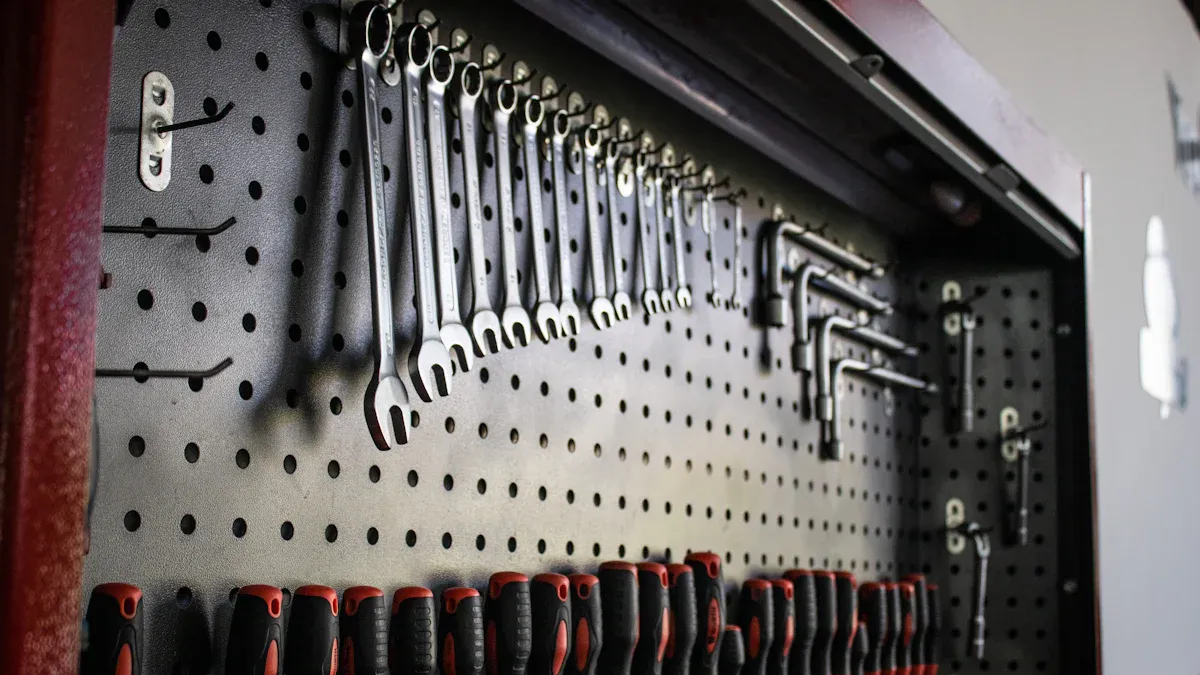
People can find many types of magnetic tool holders for different needs. Some use magnetic tool bars in workshops. These bars mount on walls or benches and hold heavy tools like hammers or wrenches. Others prefer magnetic tool racks, which combine magnets with grooves or pegs. These racks work well for both magnetic and non-magnetic tools. Some professionals use holders with adjustable arms. These arms let them change the angle to fit different tool shapes and sizes. For those who move around, magnetic tool belts and trays keep small tools or parts close by. Even magnetic knife strips, often seen in kitchens, can hold lighter tools in home workshops.
Tip: Magnetic holders keep tools visible and easy to grab, unlike toolboxes where tools can get lost or damaged.
- Magnetic tool bars: Strong, space-saving, and easy to mount.
- Magnetic racks: Flexible for mixed tool types.
- Adjustable arm holders: Great for custom setups.
- Magnetic belts and trays: Perfect for mobile work.
- Knife strips: Slim and handy for small tools.
Key Factors for Selection
Choosing the right holder depends on several factors. Friction matters when mounting on vertical surfaces. Rubber coatings can help prevent tools from slipping. The size and grade of the magnet affect how much weight it can hold. Bigger magnets are not always stronger; the way the magnetic field is focused makes a difference. The shape of the magnet also plays a role. Disc-shaped magnets, for example, can grip certain tools better. Any gap between the tool and the magnet, like a thick coating or a rounded tool, can weaken the hold.
- Friction increases grip on vertical surfaces.
- Magnet size and grade control pull force.
- Magnet shape matches tool shapes for better holding.
- Gaps between tool and magnet reduce strength.
Matching the Holder to Your Tools
A Magnetic Tool Holder should match the size and weight of the tools. People often choose from 12″, 18″, or 24″ holders. The smallest holds up to 120 lbs, while the largest can handle 240 lbs. This means even a 10 lb sledgehammer stays secure. The table below shows common sizes and their features:
| Length (inches) | Weight (lbs) | Holding Capacity (lbs) | Mounting Options | Construction |
|---|---|---|---|---|
| 12 | 2 | 120 | 3/16″ holes, screws | Stainless steel, rare earth magnets |
| 18 | 3 | 180 | 3/16″ holes, screws | Stainless steel, rare earth magnets |
| 24 | 4 | 240 | 3/16″ holes, screws | Stainless steel, rare earth magnets |
People can mount these holders on walls, benches, or even ladders. The strong magnets and tough steel housing make them reliable for both home and industrial use. Regular cleaning and not overloading the holder help keep it working well for years.
Installing Your Magnetic Tool Holder
Selecting the Best Placement
Choosing the right spot for a Magnetic Tool Holder makes a big difference. People often look for a place where they work the most. Some mount it above a workbench. Others put it near the garage door or next to a tool chest. The best spot keeps tools close but out of the way. He checks for enough wall space and avoids areas with lots of dust or moisture. She makes sure the holder sits at eye level or just below. This height lets anyone grab tools without stretching or bending too much.
Tip: Place the holder where you can see all your tools at a glance. This saves time and keeps your workspace tidy.
Secure Mounting Methods
A strong mount keeps the holder safe and steady. Many holders come with pre-drilled holes and screws. He uses a stud finder to locate wooden studs behind the wall. Mounting into a stud gives the best support for heavy tools. She sometimes uses wall anchors if no stud is available. For metal surfaces, some holders have magnetic backs or strong adhesive strips. People check that the holder sits level before tightening the screws. A crooked holder can cause tools to slide or fall.
Here’s a quick checklist for mounting:
- Find a solid surface like a stud or thick plywood.
- Use the right screws or anchors for your wall type.
- Double-check the holder is level before final tightening.
- Test the mount by gently tugging on the holder.
Note: Heavy tools need extra support. Always check the weight rating before loading up your holder.
Testing Magnetic Strength
After mounting, people want to know if the holder can handle their tools. They use a simple pull test to check the magnet’s grip. He attaches a tool to the holder and pulls straight out. If the tool comes off too easily, the magnet may not be strong enough. She repeats this test with different tools to make sure each one stays secure.
Some professionals use a scale to measure the force needed to pull a tool off the magnet. They zero the scale first, then pull until the tool releases. The highest number on the scale shows the magnet’s strength. They repeat this test a few times for accuracy. Others use a gaussmeter to measure the magnetic field. They keep the distance the same each time for reliable results. Comparing these numbers to the manufacturer’s specs helps them know if the holder meets their needs.
Callout: Always test the holder with your heaviest tool first. This helps prevent accidents and keeps your tools safe.
Organizing Tools on a Magnetic Tool Holder
Grouping and Arranging Tools
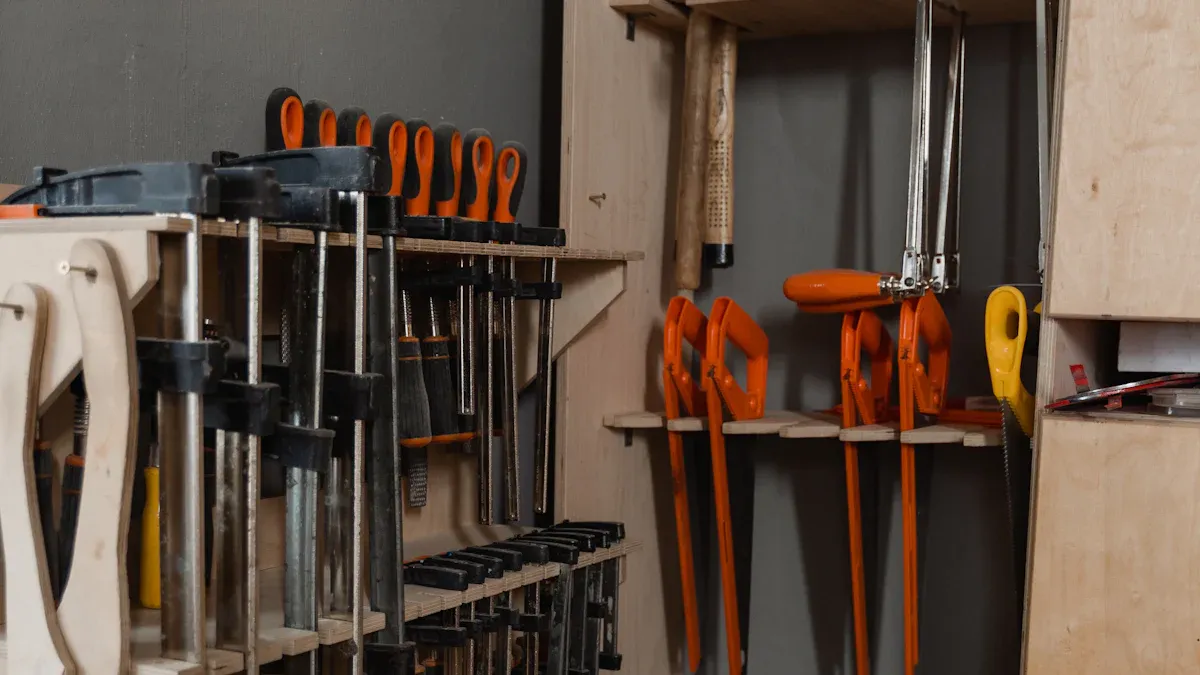
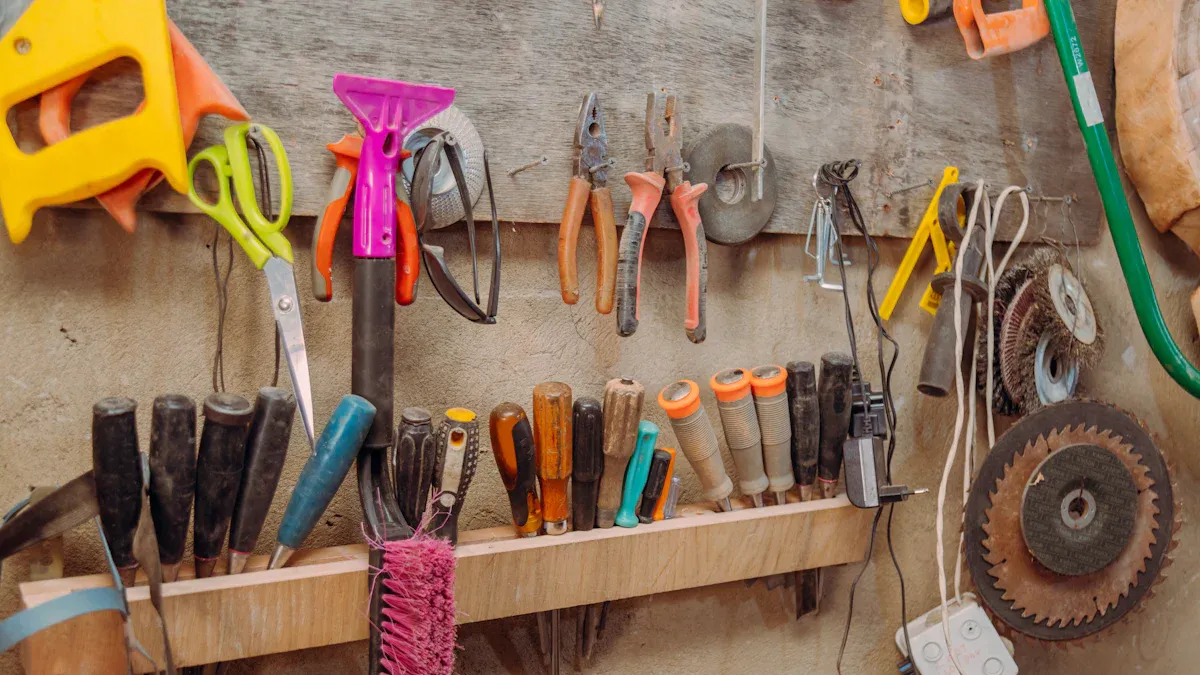
People often find it easier to work when their tools stay organized. He likes to group tools by type. For example, he puts all screwdrivers together. She lines up pliers next to each other. They keep wrenches in one spot. This way, anyone can grab the right tool without searching.
A simple way to start:
- Place similar tools side by side.
- Keep the most-used tools in the center.
- Put less-used tools on the ends.
Tip: Arrange tools so the handles point out. This makes it faster to grab what you need.
Some people use color-coded handles or tape. This helps them spot the right tool even faster. Others sort by size, placing small tools at one end and large tools at the other. A neat row of tools looks good and saves time.
Balancing Weight and Size
A Magnetic Tool Holder works best when tools balance well. Heavy tools can pull down on one side. Light tools may not need as much space. He checks the weight of each tool before placing it. She puts heavier tools near the mounting screws. This gives extra support.
Here is a quick guide for balancing:
| Tool Type | Suggested Placement | Reason |
|---|---|---|
| Heavy (hammers, wrenches) | Near the center or over studs | Prevents sagging |
| Medium (pliers, scissors) | Middle sections | Easy to reach |
| Light (screwdrivers, bits) | Ends or top row | Saves space |
Note: Spread out heavy tools. This keeps the holder from tilting or coming loose.
He leaves a small gap between large tools. This stops them from bumping into each other. She checks that no tool blocks another. A balanced holder stays safe and easy to use.
Assigning Designated Spots
Assigning a spot for each tool helps everyone remember where things go. He marks the holder with labels or stickers. She draws outlines on the wall behind the tools. They always return tools to the same place after use.
Try these steps for assigning spots:
- Decide which tool goes where.
- Mark the spot with a label or outline.
- Place the tool back after every use.
Callout: A tool in its spot is a tool ready for the next job.
Some people use a simple code, like numbers or colors. Others write the tool name on tape below the spot. This system works well in busy workshops. It also helps kids or new helpers learn where things belong.
A well-organized Magnetic Tool Holder keeps every tool visible and ready. People spend less time searching and more time building.
Maximizing Efficiency and Maintenance
Labeling and Tool Inventory
He finds that labeling each tool spot helps everyone remember where things belong. She uses simple stickers or a label maker to mark the names or outlines of tools right below their spots. This system makes it easy to see if something is missing. Some people keep a small notebook or use a phone app to track which tools they have. They check off each item after putting it back. This habit keeps the workspace organized and helps prevent lost tools.
Tip: A quick glance at labeled spots shows if a tool is missing, saving time during busy projects.
Cleaning and Magnet Care
She wipes down the tool holder every week with a damp cloth. Dust and metal shavings can build up and weaken the magnet’s grip. He checks for rust or sticky spots on both the holder and the tools. If he finds any, he uses a little rubbing alcohol to clean them. They avoid harsh cleaners that might damage the magnet or the coating. Regular cleaning keeps the holder working well and extends its life.
- Wipe surfaces weekly to remove dust.
- Check for rust or sticky spots.
- Use gentle cleaners for stubborn grime.
Note: Clean magnets hold tools better and last longer.
Customizing for Your Workflow
People often change their setup to match how they work best. Some use adjustable shelving to fit different tool sizes. Others add configurable shelves or drawer systems with tool inserts for special tools. Modular storage stations let them move parts around as their needs change. Many use magnetic tool identification systems, like color-coded tags or labels, to spot tools quickly. This visual management cuts down on search time and keeps projects moving.
Here’s a table showing popular customization techniques and their benefits:
| Customization Technique | Workflow Efficiency Benefit |
|---|---|
| Adjustable Shelving | Adapts to different tool sizes and keeps things organized. |
| Configurable Shelves | Changes with your tool needs. |
| Drawer Systems with Tool Inserts | Gives each tool a safe, easy-to-find spot. |
| Modular Tool Storage Stations | Lets you scale and rearrange storage for any project. |
| Magnetic Tool Identification Systems | Makes it easy to spot and grab the right tool fast. |
| Ergonomic Tool Orientation | Reduces handling time and helps prevent injuries. |
| Safety Features (Auto-Lock, Lock-Out) | Keeps tools secure and supports safe work. |
| Vertical Storage Solutions | Saves floor space and keeps tools in reach. |
| 5S Methodology Implementation | Improves organization and reduces wasted time. |
Callout: Customizing storage helps everyone work faster and safer.
Safety with Magnetic Tool Holders
Preventing Accidents and Injuries
People sometimes forget that strong magnets can turn everyday tools into dangerous projectiles. When a metal object gets too close, it can snap onto the magnet with surprising force. This can pinch fingers or even cause tools to fly across the room. He always checks for loose metal items before working near a magnetic holder. She teaches others to keep the area clear and to never rush when grabbing or returning tools.
Safety data from hospital MRI rooms shows how powerful magnets can pull in metal objects, causing serious injuries. In some cases, heavy items like oxygen tanks have even led to fatal accidents. Experts found that teaching people about these risks and using checklists helps prevent these incidents. They recommend regular safety talks, clear signs, and making sure everyone knows which items are safe to use near magnets.
Tip: Always scan your workspace for stray metal before starting a project. A quick check can prevent painful accidents.
Safe Handling of Sharp or Heavy Tools
Sharp and heavy tools need extra care on any magnetic holder. He uses a simple rule: never pass sharp tools by hand. Instead, he places them directly onto the holder or a tray. She sets up a “neutral zone” where tools can be picked up safely, without hand-to-hand passing. This method keeps fingers away from sharp edges and reduces the chance of cuts.
A team in a busy workplace created a policy for handling sharps. They used magnet pads and trays to hold tools, and everyone learned the new system together. After they started this policy, no one reported any injuries from sharp tools. Regular checks and peer reminders helped everyone follow the rules.
Here are some safe handling tips:
- Place heavy tools near the center of the holder for better support.
- Use trays or pads for sharp items.
- Teach everyone the safe way to grab and return tools.
- Watch for crowded spots where tools might bump into each other.
Callout: Safety grows stronger when everyone follows the same rules and looks out for each other.
A Magnetic Tool Holder keeps every workspace neat and tools ready for action. He chooses the right holder, mounts it with care, and arranges his tools for quick grabs. She finds that this setup saves time and cuts down on clutter. They enjoy smoother projects and safer work. Want a better workspace? Start your setup today and see the difference.
A little organization goes a long way—let your tools work for you!
FAQ
How does someone know if their tools will stick to a magnetic holder?
Most magnetic holders work with steel or iron tools. He can test a tool by holding a small magnet to it. If the magnet sticks, the tool will stay on the holder.
Can a magnetic tool holder damage electronic devices?
She keeps phones, tablets, and credit cards away from strong magnets. Magnetic fields can erase data or cause problems for electronics. It’s best to store only metal tools on the holder.
What should someone do if the magnet gets dirty or loses strength?
He wipes the magnet with a damp cloth to remove dust and metal shavings. If the magnet feels weak, he checks for buildup or rust. Cleaning usually restores the grip.
Is it safe to hang heavy tools on a magnetic holder?
They check the weight rating before hanging heavy tools. He places the heaviest items near the mounting screws for extra support. If unsure, he uses a second holder for added safety.
Can someone install a magnetic tool holder on any wall?
She looks for a solid surface like wood or thick drywall. For weak walls, she uses wall anchors. Metal surfaces sometimes allow direct mounting with magnetic backs. Always check the wall’s strength first.
Post time: Jun-14-2025